How to paint a room
Learning how to paint a room properly is essential for beginning DIY’ers, new homeowners, and veteran home improvement experts alike. After all, it’s pretty painless, relatively inexpensive, and—should something go horribly wrong—easy to fix. But before you grab your roller and get started with your first coat, it’s essential to have a plan of attack. Read on to learn how to paint a room and see step-by-step what you’ll need to do to make sure your project is a success.
1. Measure your room and determine how much paint you need
If you’ve been browsing living room paint ideas and are wondering whether you could work the transformation yourself – and how much it costs to paint a room – the first thing to get to grips with is paint quantities.
2. Choose your color
Browsing through fan decks and paint chips can be overwhelming. Start by figuring out the general color characteristics: Do you want a warm or cool shade? Neutral or saturated? If you have existing furniture or art, you’ll also want to consider how the shade will complement them.
3. Pick out your tools and materials
Every project is unique and you may need different tools depending on the paint you choose and the condition of your walls, but there are a few must-haves:
Paint
Paint roller
Paint roller extension pole
Drop cloths
Paintbrushes
Paint tray
Sandpaper
Painter’s tape
Rags
Putty knife
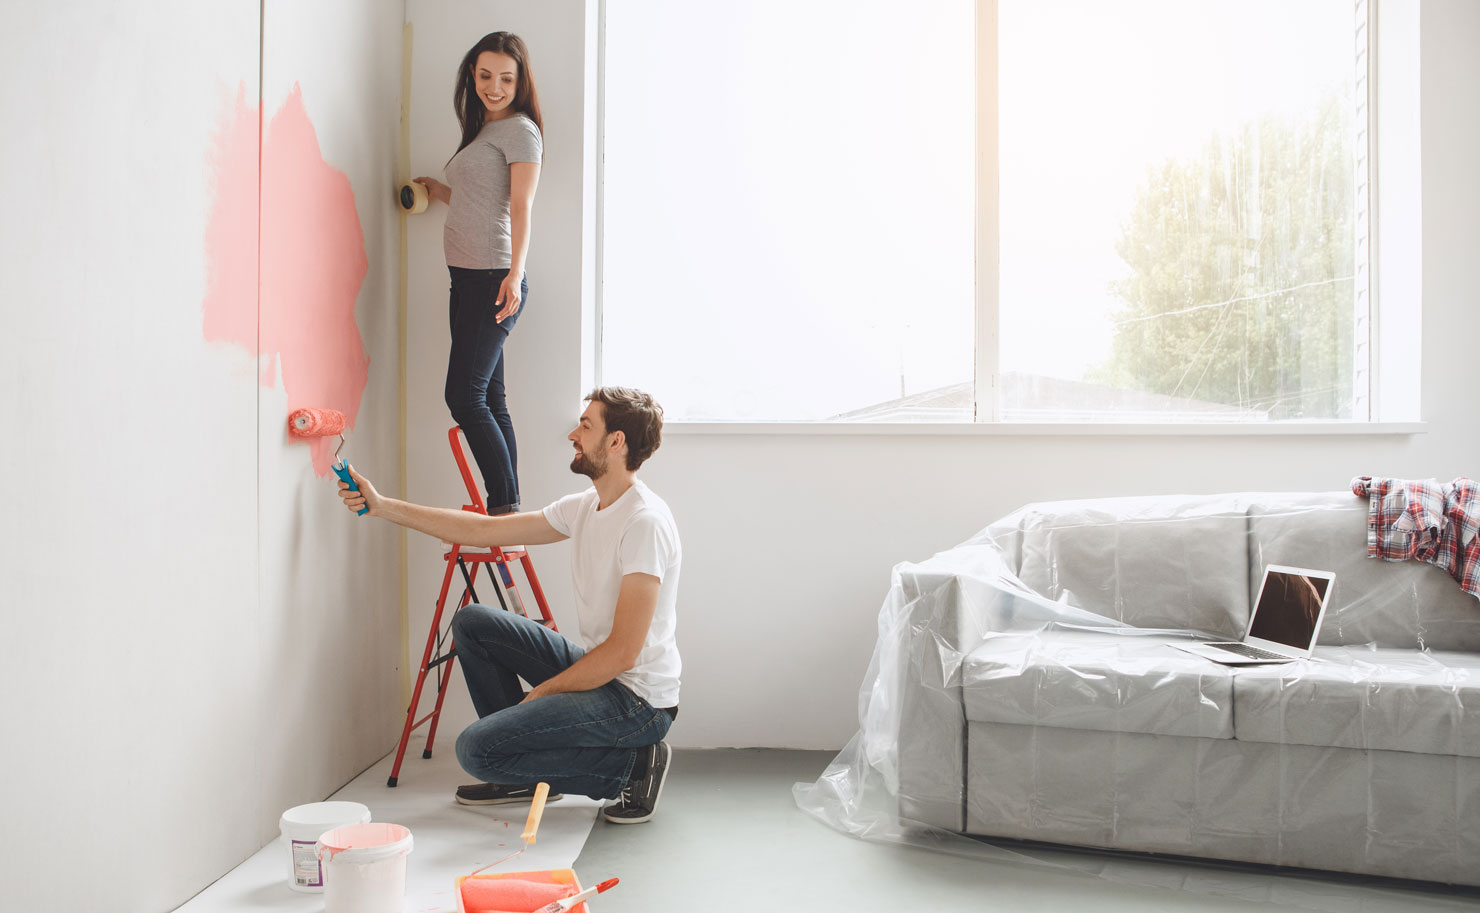
4. Protect Your Floors and Furniture
Tape down masking paper or rosin paper to the floor and carpet along the baseboards to protect them from paint splatters and spills.
Spread a drop cloth on the floor and over any furniture in the room you’re painting. Fabric drop cloths work better for this — they’re less slippery than plastic drop cloths.
5. Prep the Walls and Trim
Before painting and patching, it’s a good idea to wash all the walls and trim with a heavy-duty cleaner such as TSP. Removing dirt and grease will let the paint stick better.
Shine a utility light at the wall to get a closer look at the defects on the surface.
Knock down any nail pops and bumps you find on the walls. Fill the holes and cracks with spackle or patching compound. Sand all patches smooth with sandpaper.
Always apply a coat of primer over the patched areas before painting.
Remove outlets and switch plates.
6.. Time to prime
Using a primer will ensure a more professional finish and help you get the most from your paint color. ‘Apply a smooth and even base coat of primer using a roller.
Avoid the temptation to skip the priming stage if you want a vivid and consistent finish, especially if you’re painting over a darker color.
7. Stir and decant your paint
After opening a paint can, stir the paint thoroughly for an even texture, before pouring some into your painting tray.
8. Mix your paint
Use a wooden paint stick to stir the paint, and re-stir often throughout the project. Paint that isn’t stirred consistently can lead to the ingredients separating and you’ll risk compromising the true color you’re going for. If you’re using more than one gallon of paint, combine the cans in a large bucket in case there is a slight variation in color.
9. Paint your wall from top to bottom
From preparation to painting, work from the top of your room down, for best results. Start with the ceiling and the architrave. Then, paint your walls from the top down with your roller. Finish the job with woodwork and skirting.
10. Apply another coat of paint
Leave the first coat to dry for a couple of hours before you apply another coat.
‘Most walls shouldn’t require more than two coats of paint,’ says Natasha Bradley. ‘Remove the painter’s tape from the wall whilst the second coat is still drying.’
11. Don’t forget ventilation
To make the experience more pleasant for you, open the windows and let some air in.
12. Clean up ready for the big reveal
Leave to dry for at least 24 hours and remove your dust sheets to reveal your brand new wall. Keep your brushes in good condition by cleaning them before you put them away. If you’ve used a water-based paint, a clean with soap and water will suffice.
Leave a Reply