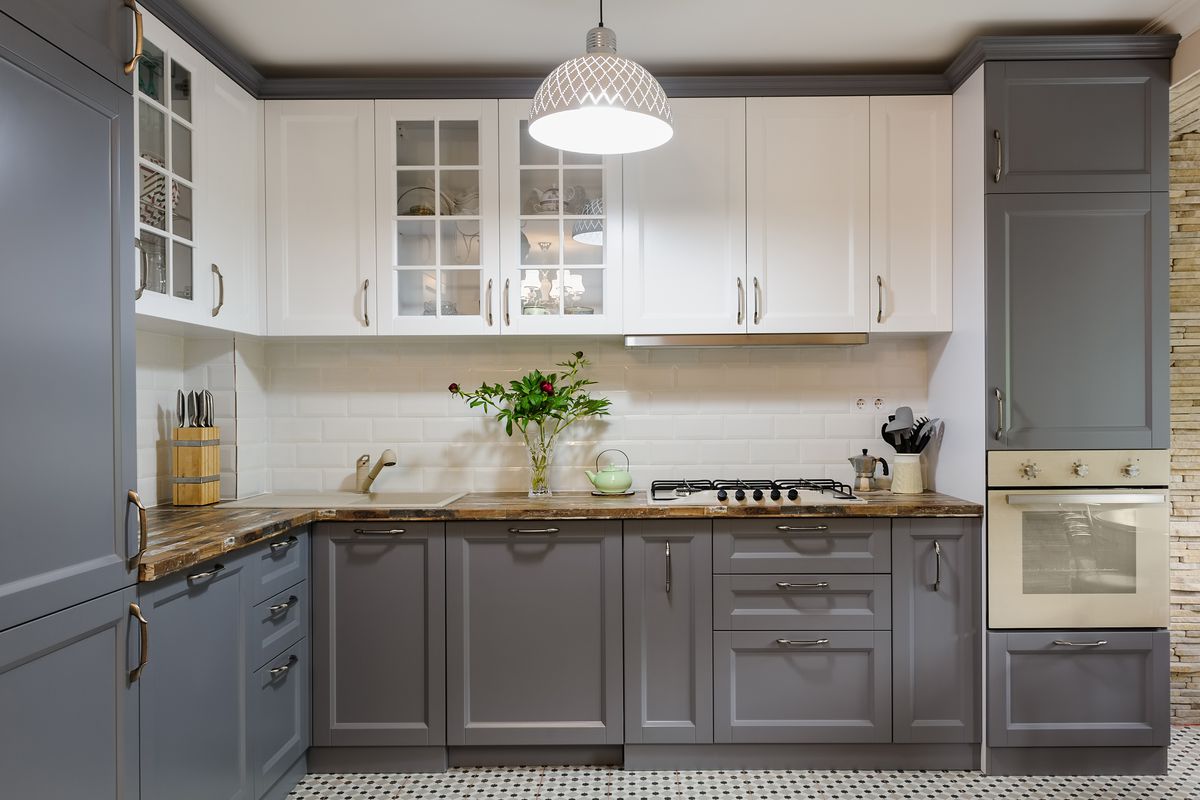
How to Paint Your Kitchen Cabinets
Painting kitchen cabinets can save you the headache (and expense) of a big remodeling project. Before you start painting kitchen cabinets, it pays to prepare for the job. If possible, take one of your cabinet doors to a local paint retailer and talk with a pro about what kind of material you’re working with and what products will help you achieve the best results. The pros can give specific advice for painting kitchen cabinets if they know more about your project.
Should I Paint My Cabinets?
Before you head out to the paint store, examine your cabinets to see if they can be resuscitated in the first place. Even the highest-quality paint job can’t revive cheap cabinets that have grown frail with age. Thin veneers peel or delaminate, particleboard cabinet bottoms or shelves sag or break, and hanging rails come loose. If these are the issues you’re dealing with, you’d actually be better off replacing your kitchen cabinets.
What Type of Paint Do I Need for Cabinets?
Latex paints have been improving steadily, leading some pros to give up oil-based paints entirely. Because they dry quickly and clean up with water, latex paints are more user-friendly than oil-based paints. But many pros still favor oil-based topcoats, arguing that they form a harder, more durable paint film and level out to a smoother finished surface. Latex paints also take longer (up to three weeks) than oil-based paints to fully cure. In the meantime, they’re susceptible to damage.
How to Paint Your Kitchen Cabinets
1: Examine your cabinets
Rule number one: Before you break out the roller, take a look at the condition of what you’re working with.“Any small chips or cracks to the doors can also easily be repaired with a wood filler,” Berk says. But keep in mind, not all cabinet doors and drawers are paint-worthy. If the veneer is peeling or the woodwork is warped, you might be better off buying new unfinished drawer fronts and doors to replace the beat-up ones.
2. Remove Cabinet Hardware
Before you start to paint, you’ll need to remove the doors and drawers from the cabinet boxes and uninstall hardware. Painting over hinges and handles affects the way the door functions.
Make a key or use tape to label where the doors and drawers should return for easy reassembly. Use a cordless drill or screwdriver to remove hinges and hardware.
3: Apply liquid sandpaper
In the past, you had to clean, strip, sand, and generally break your back to prep a surface for paint. But the home improvement industry has evolved beyond soap and scrub brushes—and even sandpaper. There’s a product called M-1 Paint Gloss Remover (you can also use liquid sandpaper) that cleans and deglosses the surface. Sans sawdust. “This stuff is by no exaggeration a miracle product,” “Nobody sands cabinets anymore.” To use, wipe the M-1 gloss remover all over the cabinet doors—on the sides, across the top, on the back—and it will be dry in 20 minutes.
4. Select the Type of Paint
When selecting paint, first decide if you want to use latex or oil paint. Latex paints are great for less experienced painters. They dry quickly and clean up with water, making them a pretty user-friendly option. However, these paints take up to three weeks to fully cure (and can be damaged during this time), so they may not be ideal for those with children or pets. If you do choose to opt for latex paint, be sure to select a paint with a 100 percent acrylic formulation for greater durability and adhesion.
5. Paint the cabinet boxes
You’re finally ready to paint! If you’re using roughly the same shade as the existing color, two coats ought to do the job. You might even get away with one. Painting over a dark finish with a light color is tougher and could require three coats. Break out a new brush for each coat. Pour some trim and cabinet enamel paint into the paint tray and load the brush and roller with paint. Use the brush to cut in along the edges, push the paint into the corners, and leave out roller strokes. Use the roller to apply enamel paint to the large flat surface where possible. Cover the brush and roller with plastic bags to prevent them from hardening while you wait for the first coat to dry.
Apply a second coat to the cabinet. This coat should provide a perfect, consistent finish without any thin or light areas where wood might show through.


Leave a Reply